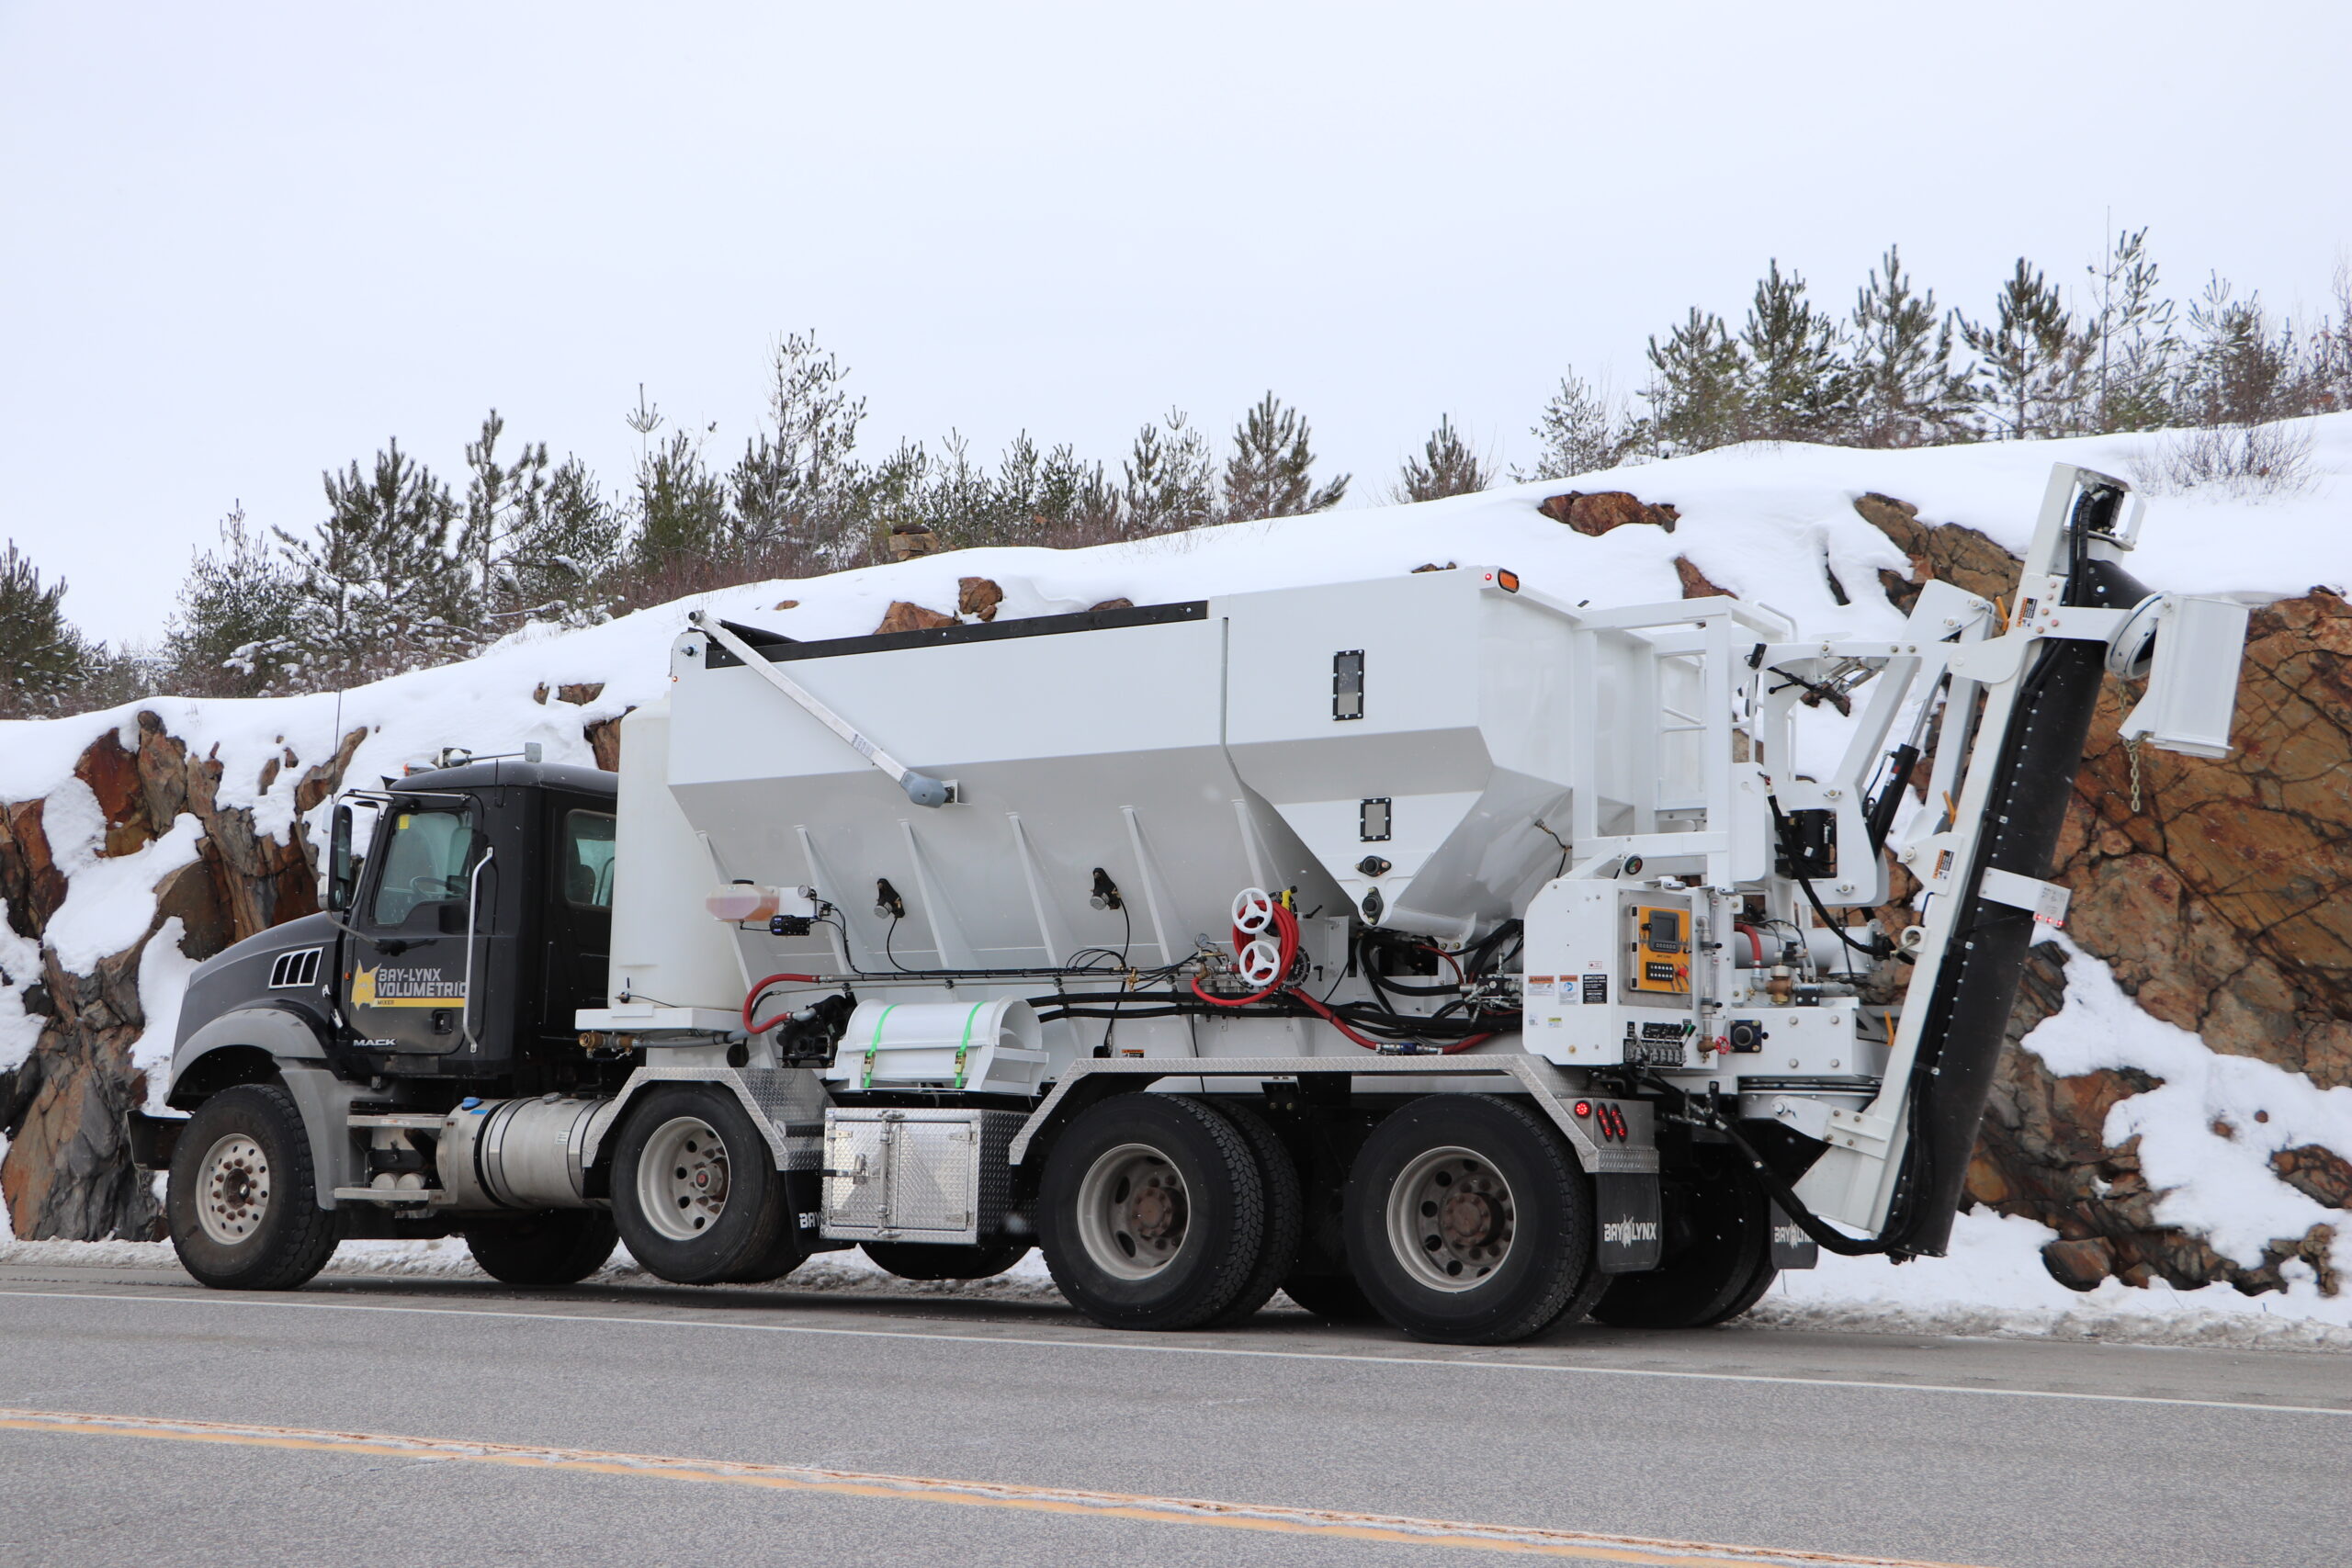
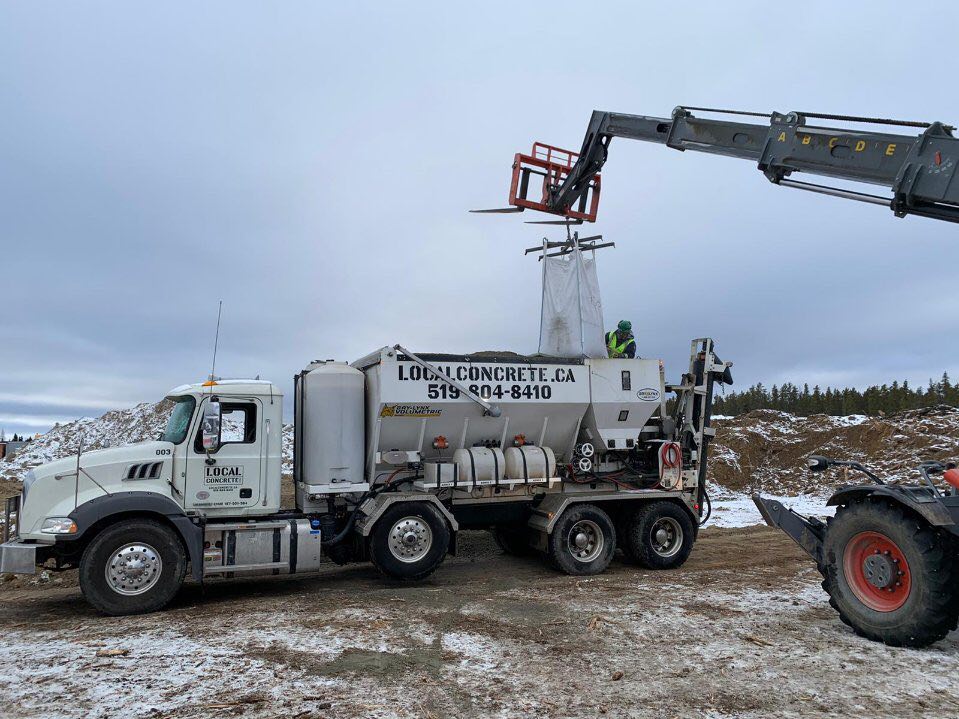
The winter months bring their share of obstacles when it comes to cold weather concrete. Try using these precautionary measures to ensure the concrete properly sets.
Remember that concrete must be protected from freezing until it has reached a minimum strength of 500 pounds per square inch (psi). If concrete freezes before it gains strength, it will be unable to resist expansive forces which will result in the disruption of the cement paste matrix. Early freezing reduces ultimate strength by 50%. If concrete has been able to obtain a compression strength of 500 psi, it will have sufficient strength to resist expansion and damage if frozen.

Cold weather will result in the concrete taking considerably longer to set, so prepare for crews to be on site for longer periods of time. To help keep temperatures stable, you can use windbreaks, enclosures, or heaters to protect the concrete placement. Concrete mixtures can also be adjusted to accelerate setting time.
In the winter, water and aggregates are to be kept warm to provide proper concrete temperatures upon delivery. Windbreaks, typically around 6 ft tall, are often set up to protect the concrete from drastic temperature drops due to biting winds. Sometimes heated enclosures can be set up to keep temperatures stable as well. If an area is too large to be practical for an enclosure, a hydronic heating system can be put in place. These systems circulate a glycol/water solution in a closed system of pipes to circulate heat.
You can also use accelerators to add to the concrete to keep it on schedule. This is often done by adding calcium chloride which accelerates the hydration reaction, but this must be used with caution as additional chloride can lead to corrosion of any rebar embedded within the concrete. There are non-chloride accelerator options, but these are generally much higher in price. See here for a non-chloride accelerator.
Forms can be used to assist in cold weather concrete finishing. Many are unaware that forms actually retain heat and prevent concrete from drying too quickly. So, try to keep your forms in place for as long as possible.
Before finishing concrete, it’s important to ensure all bleed water has evaporated. You will notice more bleed water than is typical and it will start later than expected due to the extended setting time of cold weather concrete pouring.
Active heating is often used to keep temperatures steady when pouring in cold weather, but it’s crucial that the concrete doesn’t cool too rapidly when active heating is discontinued. Removing active heating quickly can cause temperature differentiation to build between the outside and middle of the concrete causing cracks. To prevent this, gradually lower temperatures within an enclosure or cover the concrete with insulating blankets.
Throughout the curing period, concrete temperature should be checked regularly using an infrared temperature gun to ensure it is maintaining a temperature of at least 40 degrees Fahrenheit.
All concrete must cure for a specific period of time depending on the type of cement used. The ACI Committee 308 recommends the following minimum curing periods:
| Cement Type: | Days: |
| ASTM C 150 Type I cement | 7 Days |
| ASTM C 150 Type II cement | 10 Days |
| ASTM C 150 Type III cement | 3 Days |
| ASTM C 150 Type IV or V cement | 14 Days |
| ASTM C 595, C 845, C 1157 cements | variable |
All in all, there is no standard mix or method for cold weather concrete pouring. Each cold weather scenario should be analyzed individually to decide the optimal way to pour and best mix to use. So take the time to decide which methods are best for your situation!
